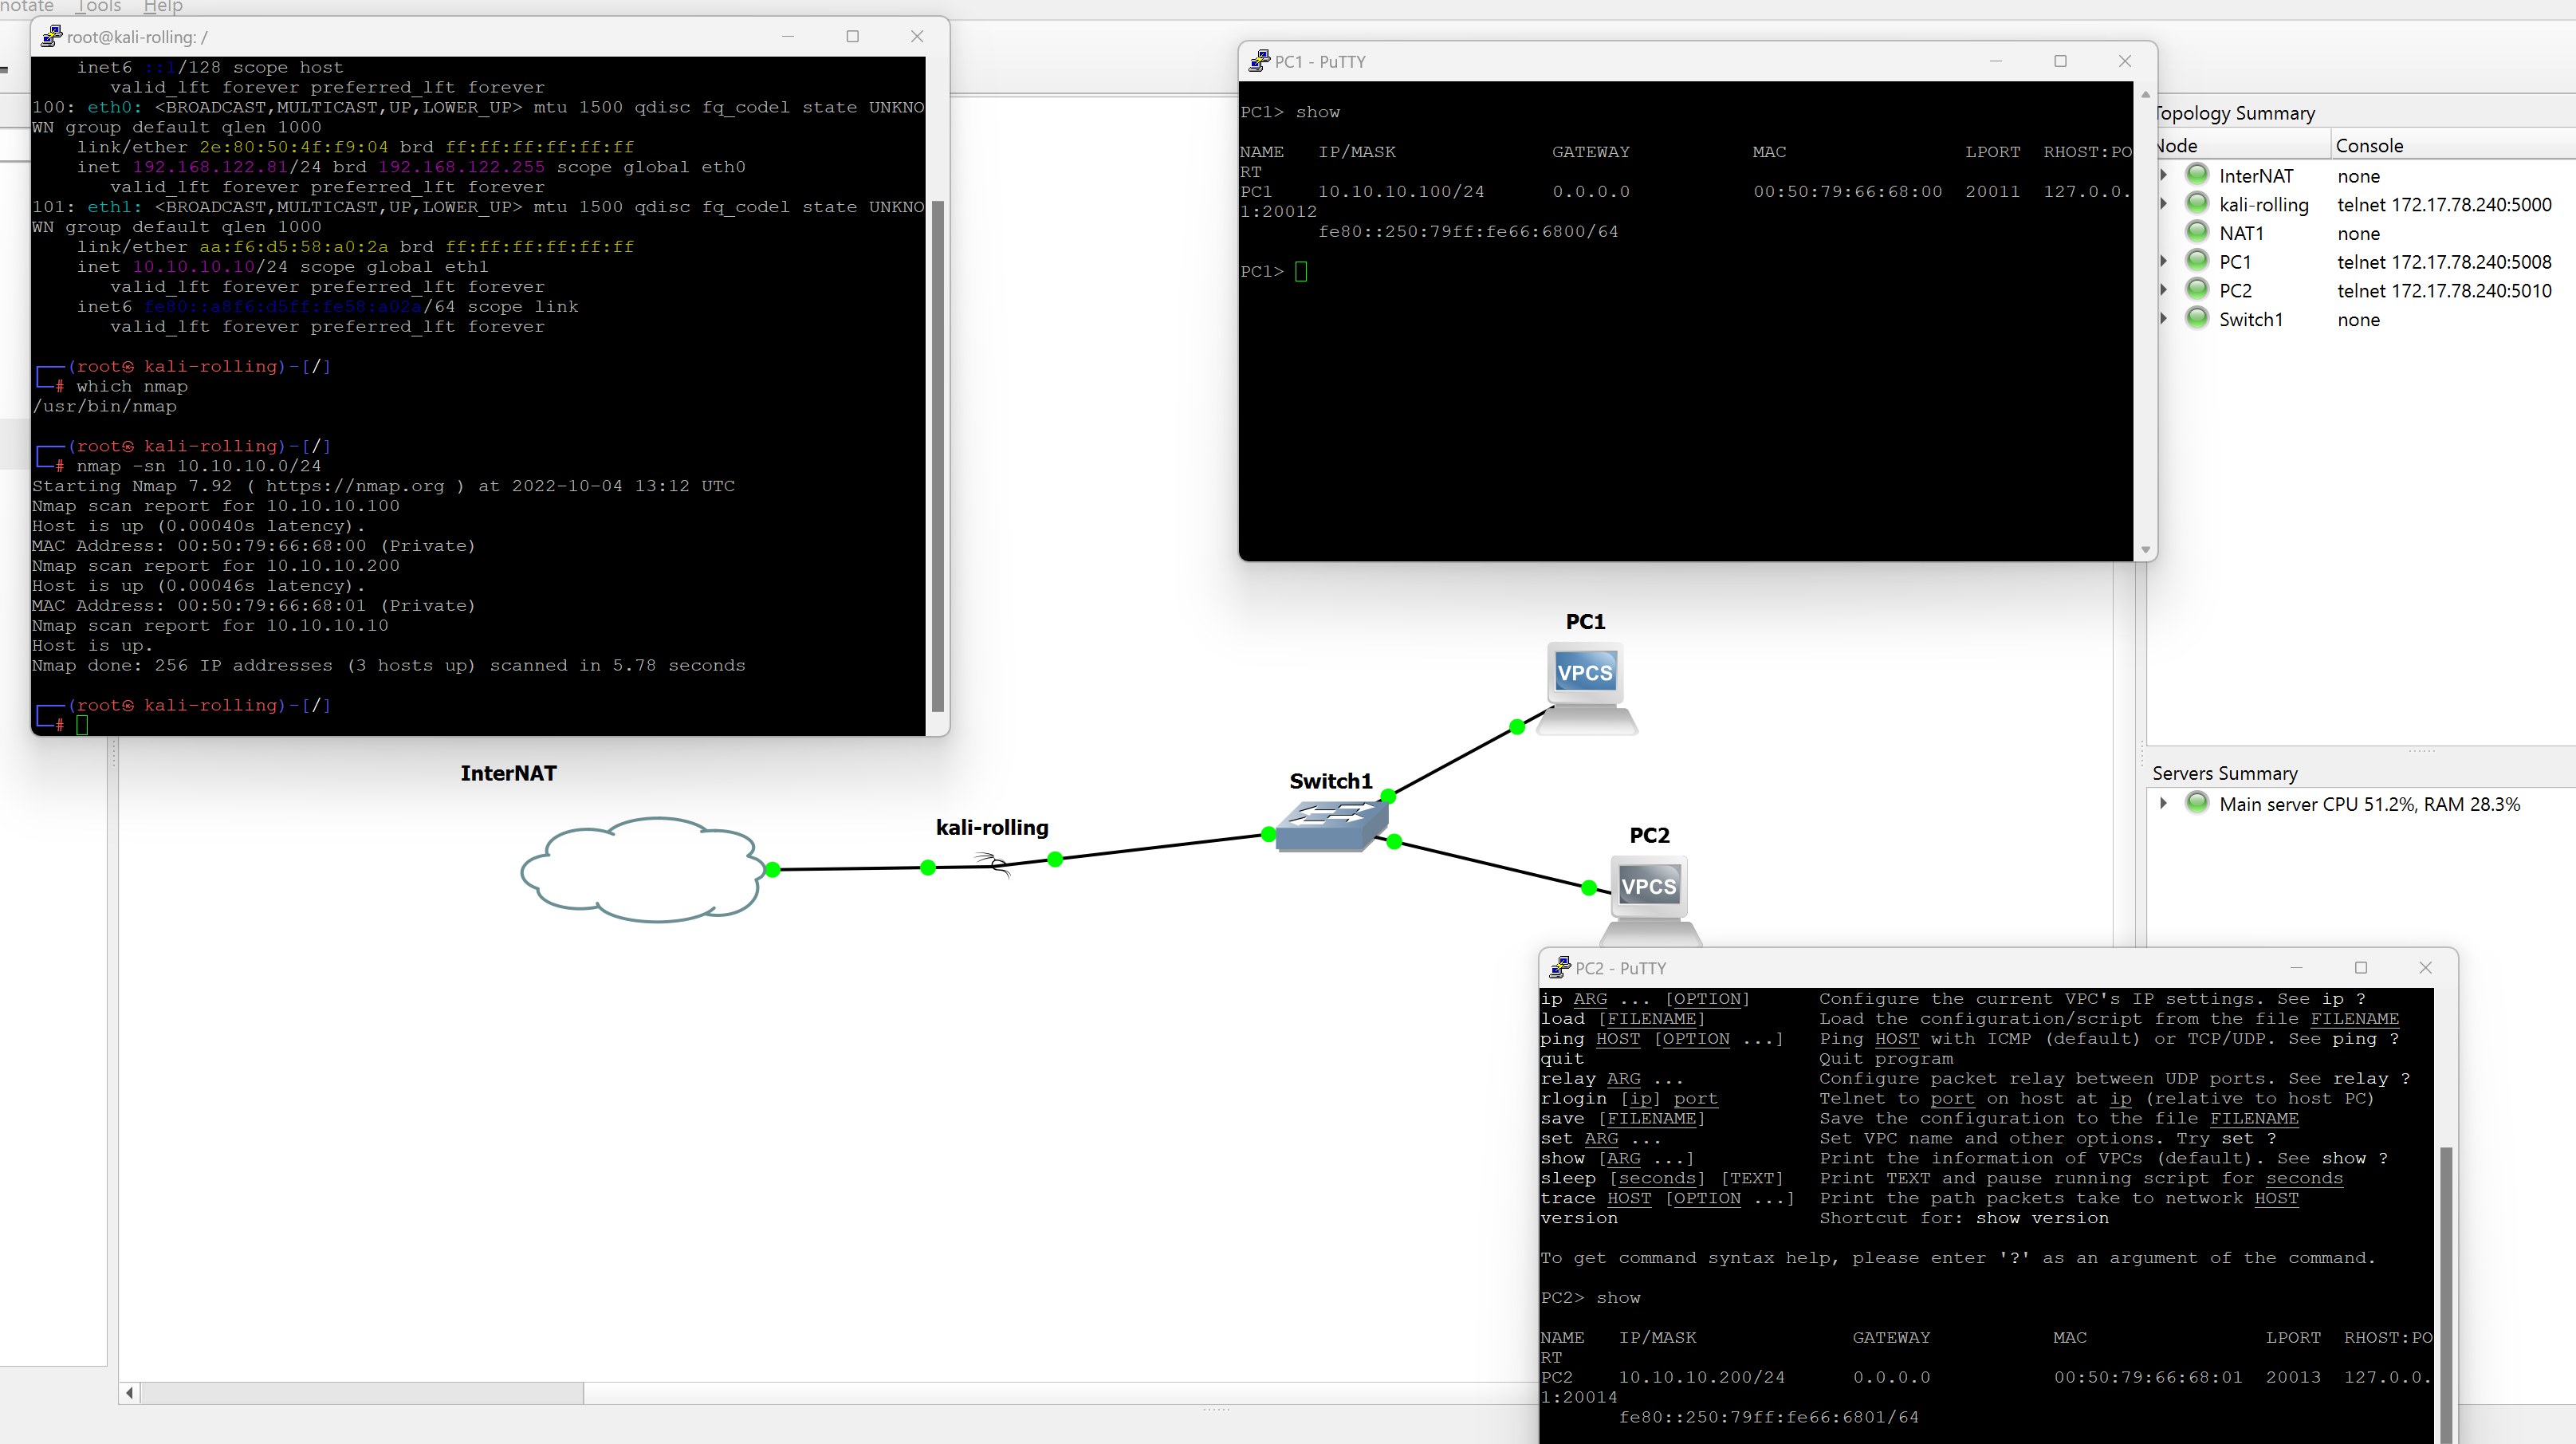
GNS3 is a really great project for emulating networking devices. Since I’m exploring more security related topics lately I wanted to use Kali Linux more.
While a dedicated VM might be good for a long term lab where you use one Kali install as your main machine, Docker is very good to quickly spin up nodes and test stuff.
Prerequisites
GNS3 desktop and GNS3 server (on a VM) is a requirement.
Create a custom Dockerfile
You don’t have to be that familiar with Docker, it’s just a few lines where you modify the apt command to your preferences.
Example 1: kali-linux-core
kali-rolling docker image comes with the bare minimum. You can’t even ping. This is why we have to install the packages we need.
# import latest image from kali linux rolling
FROM kalilinux/kali-rolling:latest
# makes so that apt doesn't ask for user input
ENV DEBIAN_FRONTEND=noninteractive
# install required tools and remove lists
RUN apt update && apt install -y kali-linux-core && rm -rf /var/lib/apt/lists/*
You can see here in the last line we install kali-linux-core with apt
This installs just the core packages with base functionality. You can append packages from there.
Example 2: custom packages (recommendation)
I’d probably go with something like this:
# import latest image from kali linux rolling
FROM kalilinux/kali-rolling:latest
# makes so that apt doesn't ask for user input
ENV DEBIAN_FRONTEND=noninteractive
# install required tools and remove lists
RUN apt update && apt install -y kali-linux-core nmap iputils-ping iproute2 tree htop locate && rm -rf /var/lib/apt/lists/*
You can see that I added packages like nmap, iproute2 and locate.
Example 3: kali-linux-headless or other metapackages
You can find a list of metapackages here
The one that might be interesting is kali-linux-headless. This comes with a lot of tools out of the box but requires a huge download.
Also remember that image size affects the resources of your GNS3 server later. In my test the kali-linux-core image was 385MB and the kali-linux-headless image was 8.26GB.
Create docker image locally
Log into GNS3 via ssh. If you haven’t changed anything: user and password is gns3
Go to your home directory
cd
Create a directory for your Dockerfile
mkdir mydocker
Create your dockerfile with your favorite editor like vimor nano

The following command builds the image. You can change b-27p-de and kali-core to a name you like.
docker build -t b-27p-de/kali-core . --network=host
The following message is normal and doesn’t affect the build process:
WARNING: apt does not have a stable CLI interface. Use with caution in scripts.
You should see something like this when it’s successful
Successfully built b4ac31922c27
Successfully tagged b-27p-de/kali-core:latest
Check for new image
docker image list
shows more information like the size of your newly created image.
Create template
Back to GNS3 GUI, click on New template
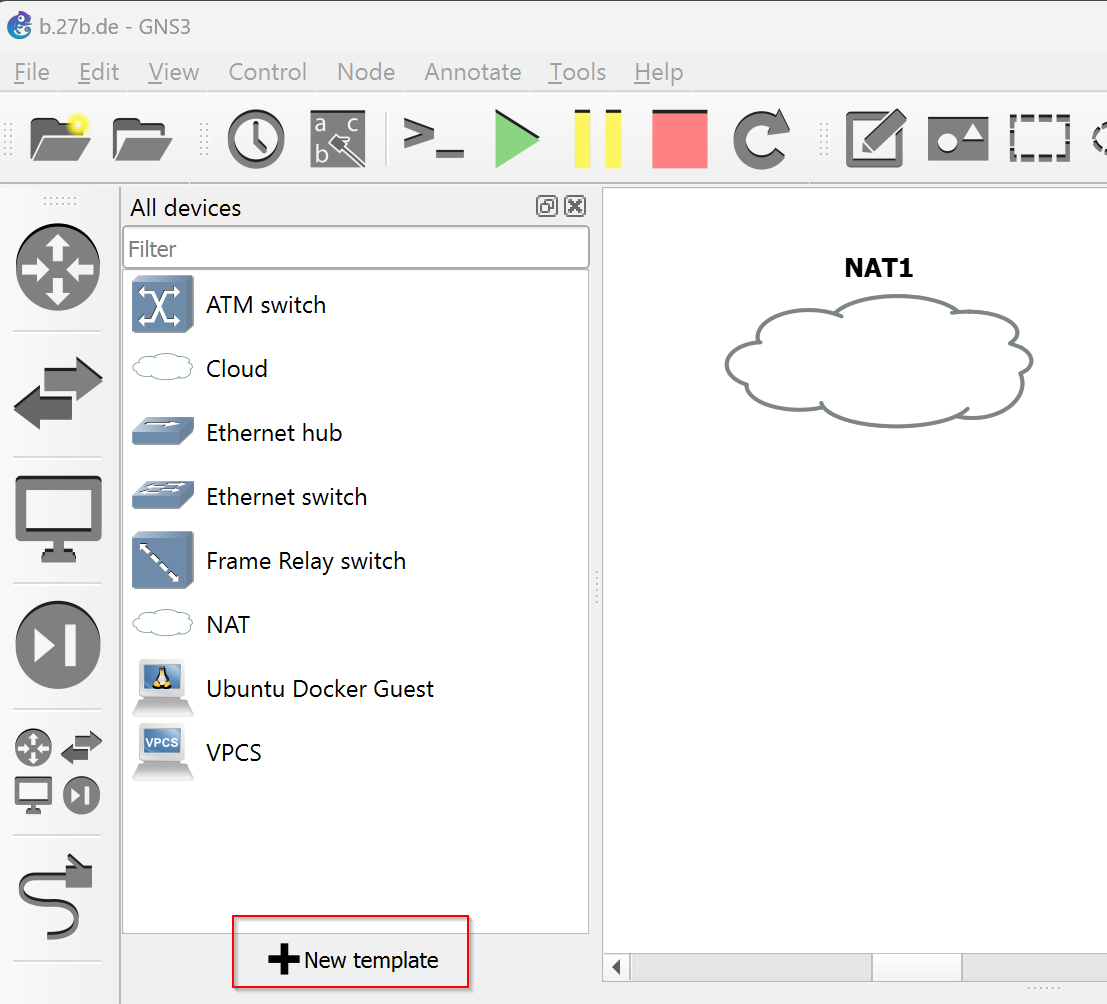
Manually create a new template
Docker -> Docker containers -> New
Then your image should already be visible in the Image list dropdown.

give it a name you like. I used kali-rolling in this example
Network adapters

You usually want to have more than 1 adapter for network testing.
Start command
leave blank
Console type
telnet
Environment
Add environment variables of your liking. You can leave this blank.
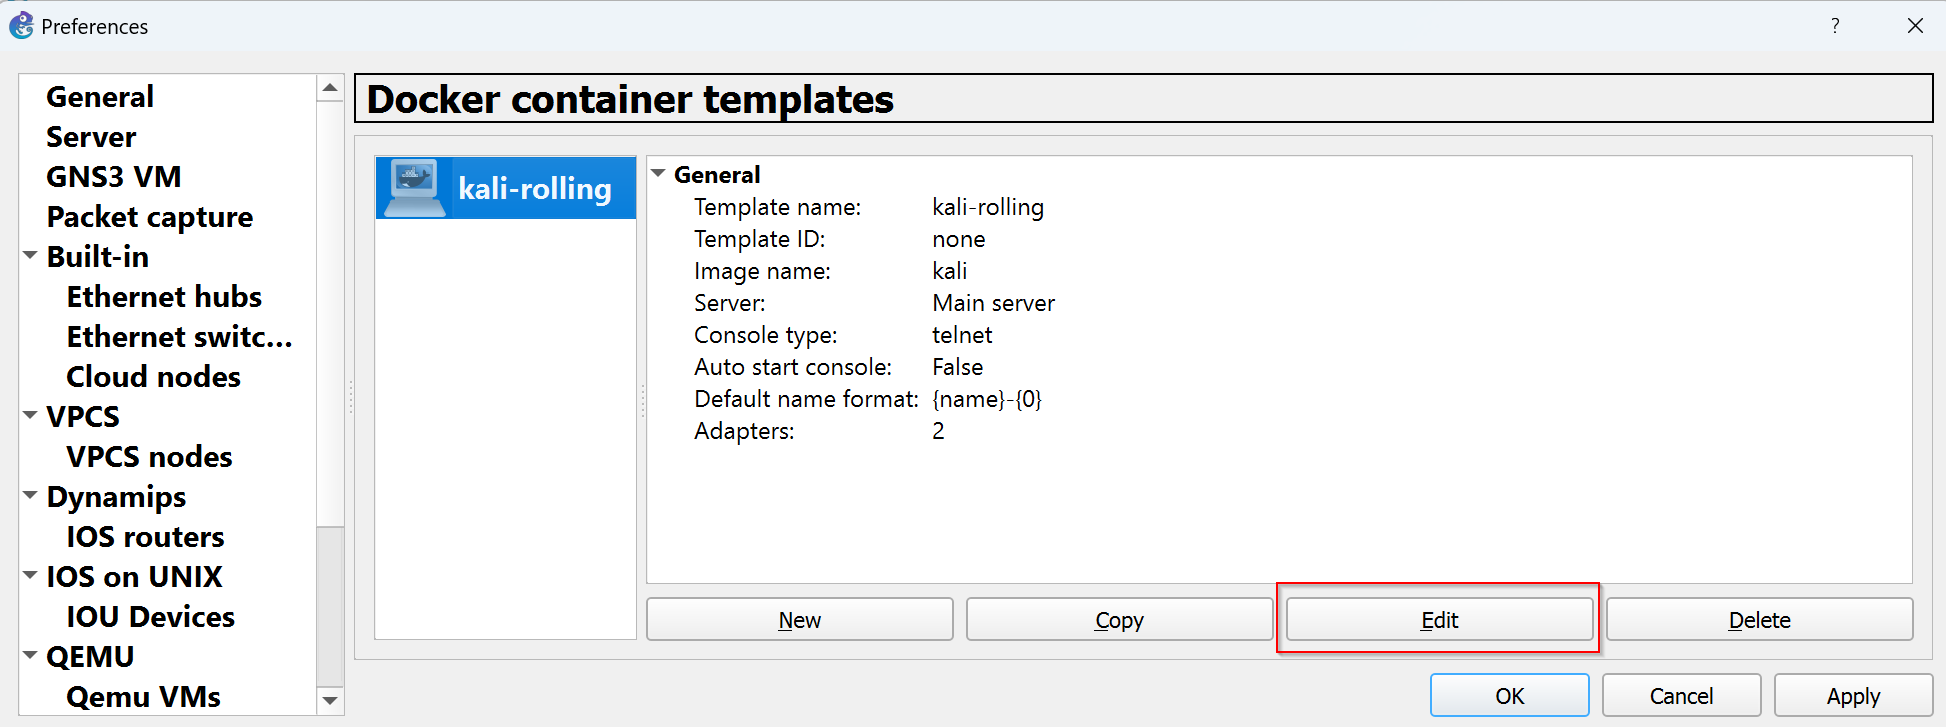
Edit template
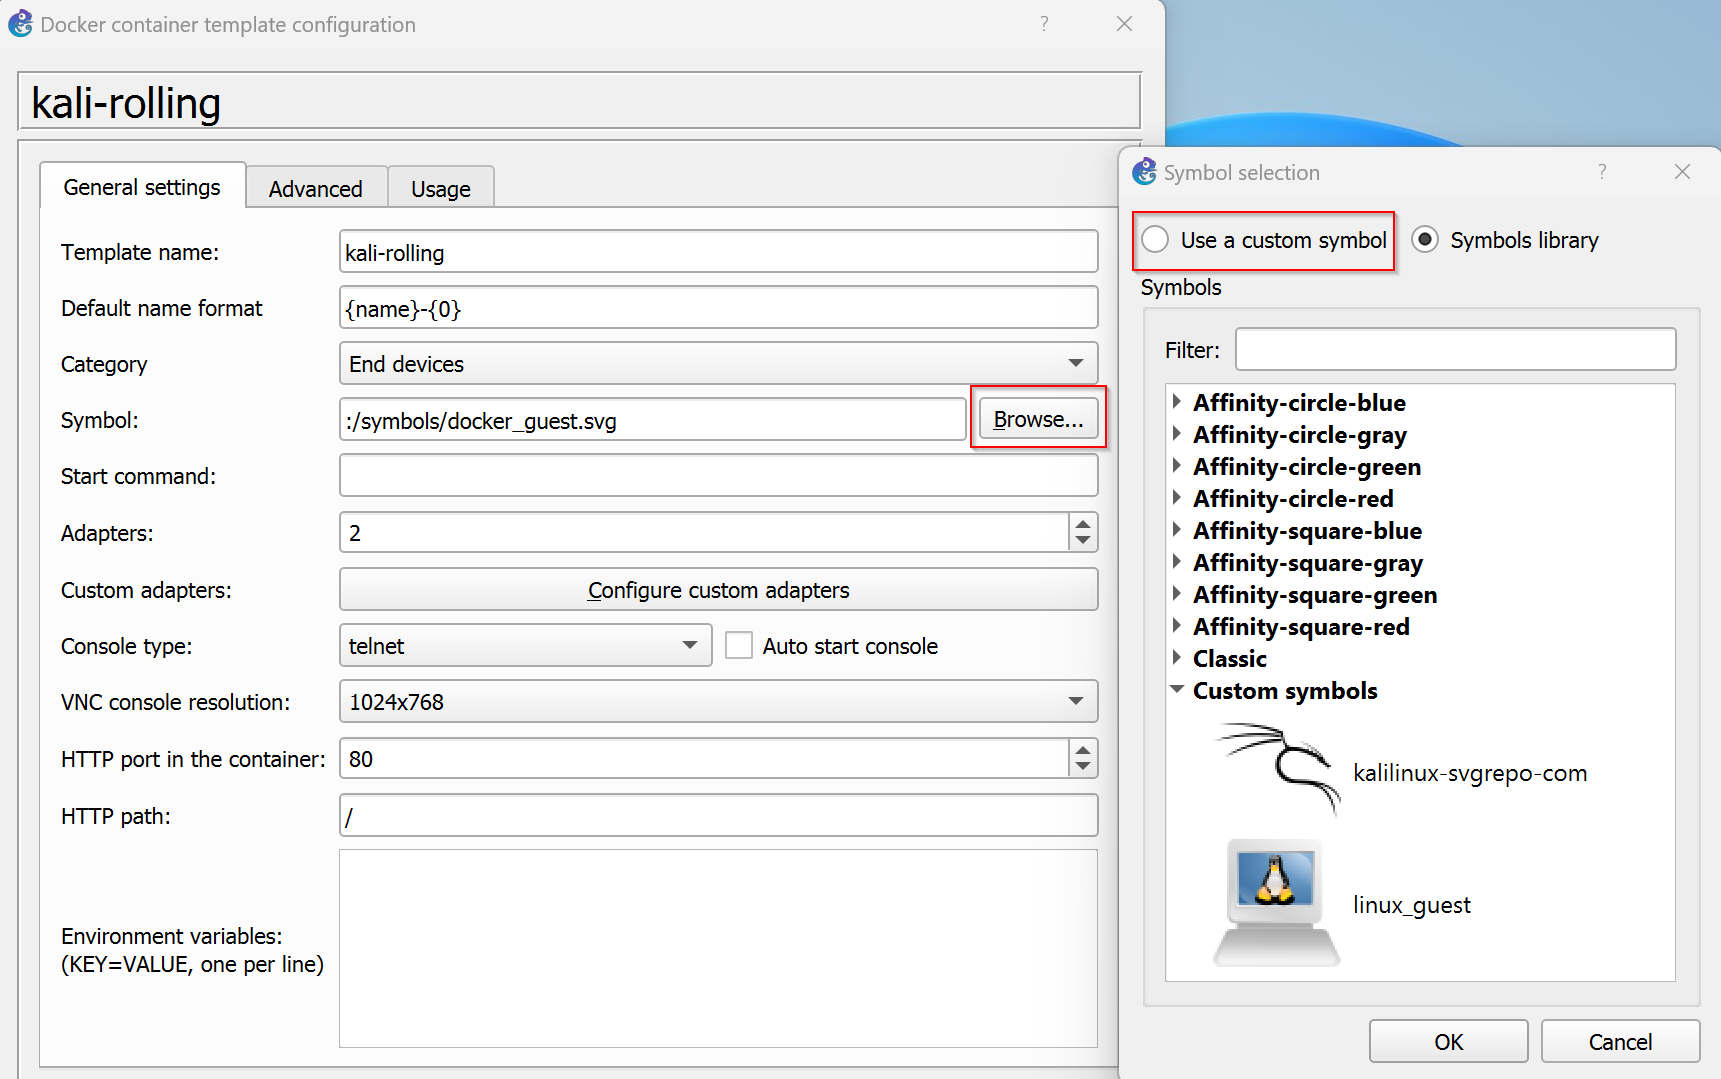
Change template symbol (optional)
Now the template exists but we want to fine tune it a little bit.
If you’re like me, you probably want a nice icon for your kali template. Use a custom symbol to add a svg image. It gets uploaded to the server, so anyone using the GNS3 server will see it.
define persistent directories
You can now define directories that you want to be persistent in the template.
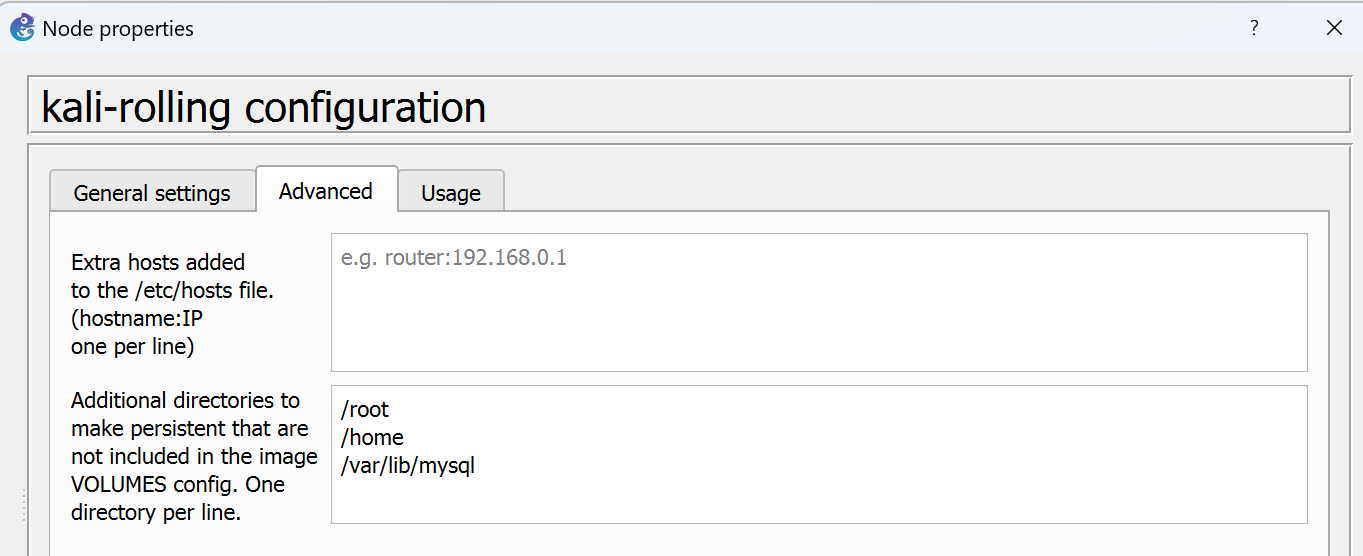
Example:
/root
/home
/var/lib/mysql
What you put in here depends on your default use case. Because this is Docker and no virtual machine, you should keep this to a minimum.
If you need an image with other apt packages you can create one with a modified Dockerfile.
Anything outside of those directories will be lost after the container restarts.
Network settings
Connect to the internet
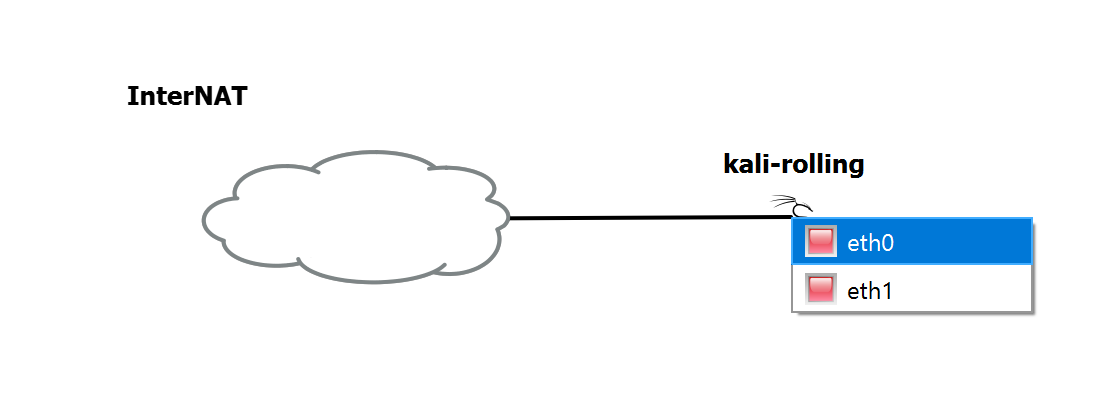
Drag your newly created template in one of your projects. Connect it to the internet with one of the ports (easiest is NAT like in this example). I’m using port eth0
Configure network settings
right click on kali image -> configure and then Network configuration
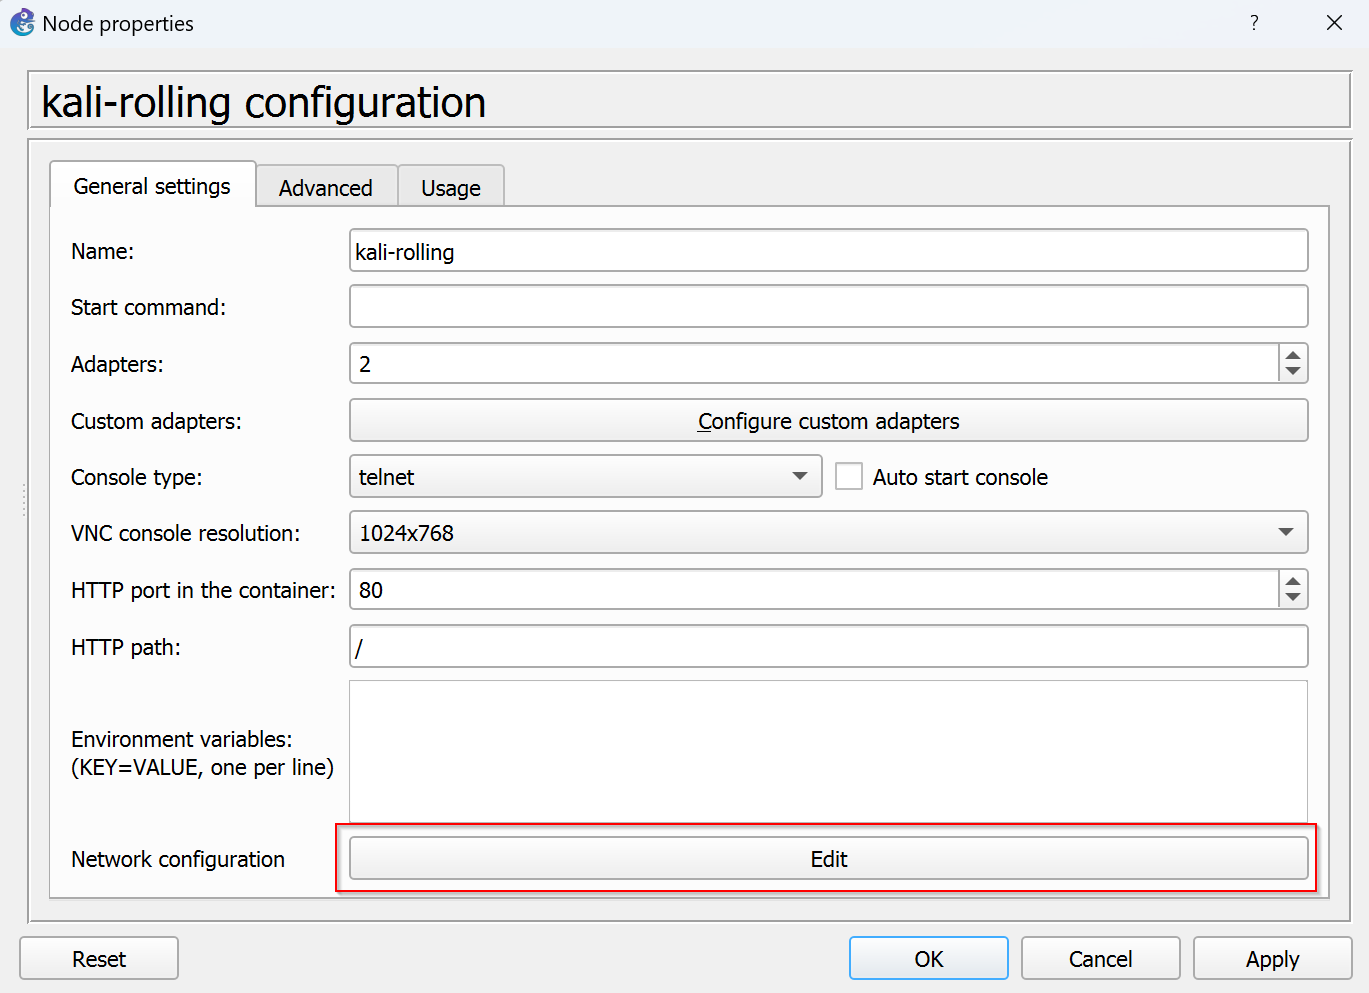
If you’re using NAT comment in eth0 setting like in the following example so that it’s able to receive a DHCP address.
#
# This is a sample network config, please uncomment lines to configure the network
#

# Uncomment this line to load custom interface files
# source /etc/network/interfaces.d/*

# Static config for eth0
#auto eth0
#iface eth0 inet static
#	address 192.168.0.2
#	netmask 255.255.255.0
#	gateway 192.168.0.1
#	up echo nameserver 192.168.0.1 > /etc/resolv.conf

# DHCP config for eth0
auto eth0
iface eth0 inet dhcp
#	hostname kali-rolling-3

# Static config for eth1
auto eth1
iface eth1 inet static
	address 10.10.10.10
	netmask 255.255.255.0
	gateway 10.10.10.1
	metric 500
#	up echo nameserver 192.168.1.1 > /etc/resolv.conf

# DHCP config for eth1
#auto eth1
#iface eth1 inet dhcp
#	hostname kali-rolling-3
You also see the configuration for the second interface here. This one we want to use to interact with our GNS3 lab environment.
Make sure to add a high metric there, so that the default route to the internet is always eth0
Finished 🥳
We can now use our kali docker image to spin up nodes pretty fast and have fun with our lab.
